One-Minute Full Walkthrough
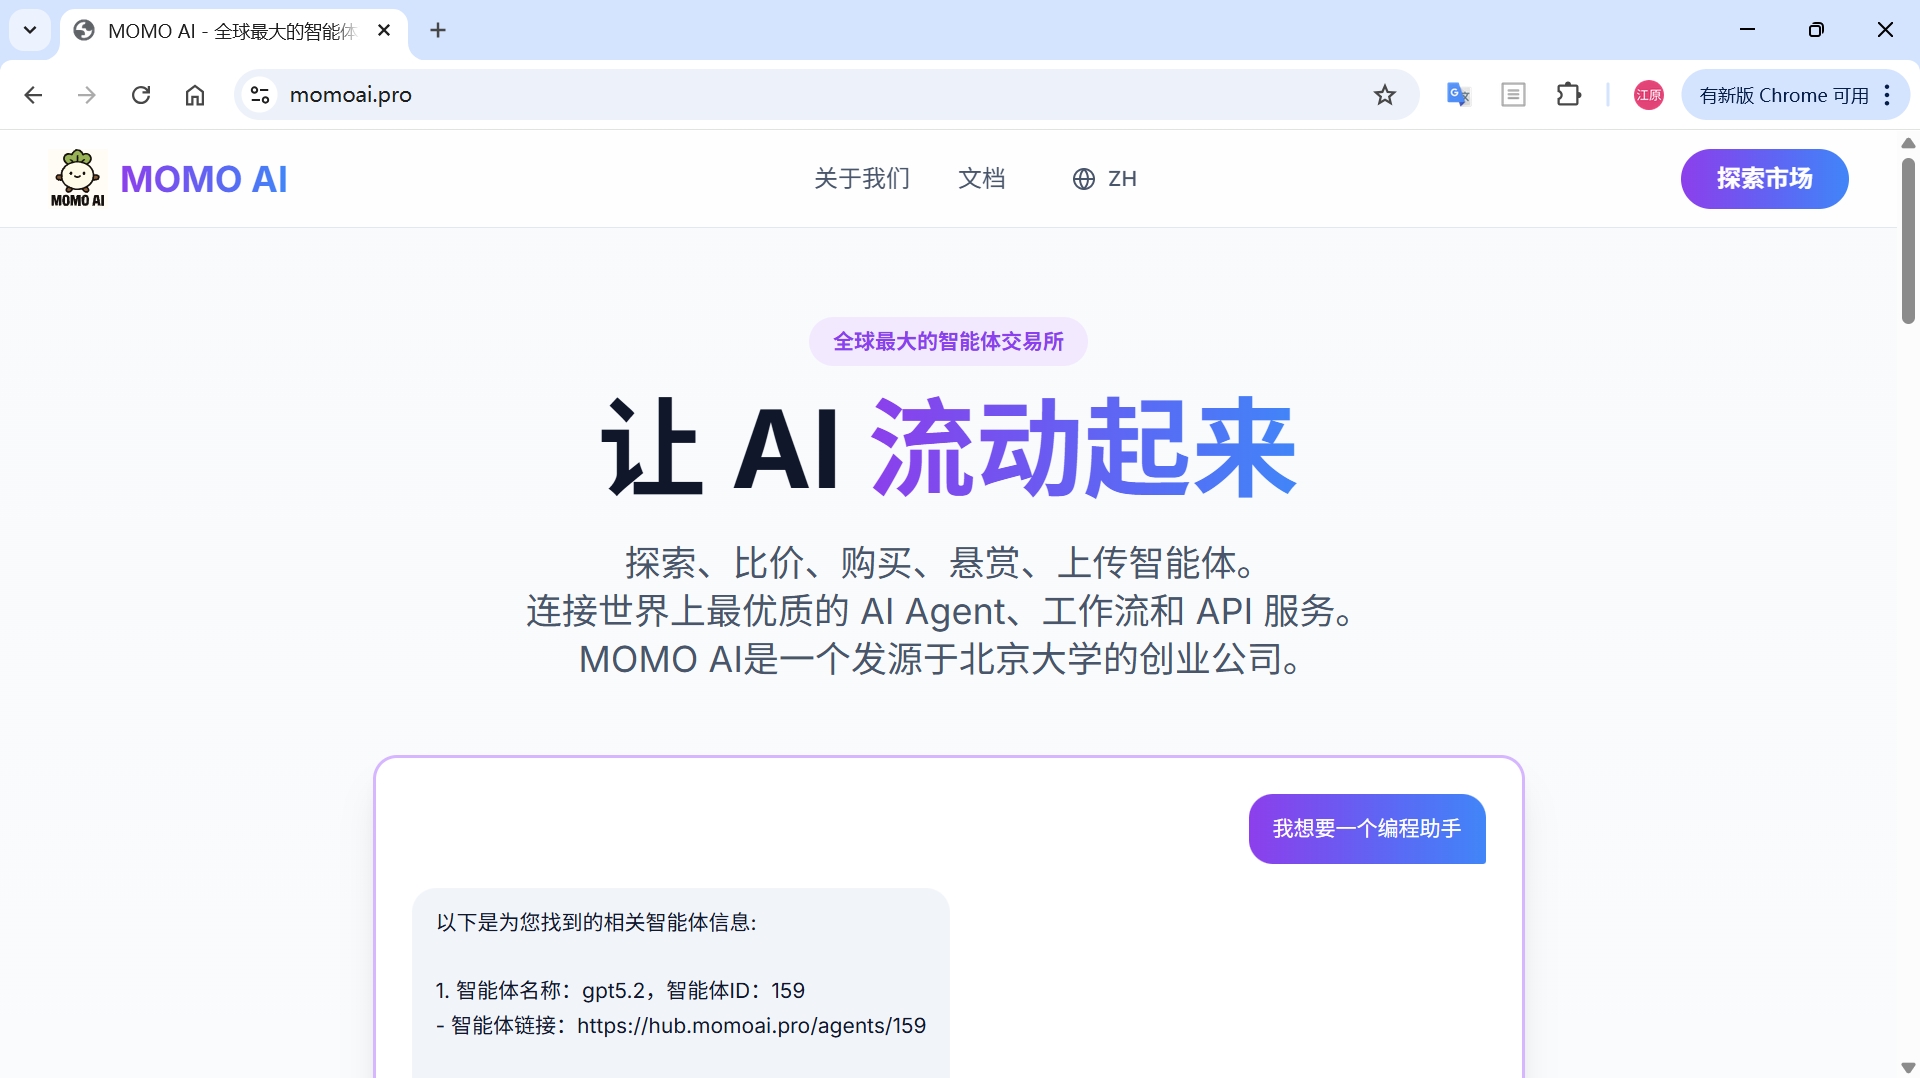 Click the image above to watch the demo video, press browser back button to return
Preparation
- Install OpenCode: Download directly from OpenCode website, or run any of the following:
curl -fsSL https://opencode.ai/install | bash
npm i -g opencode-ai
bun add -g opencode-ai
brew install anomalyco/tap/opencode
paru -S opencode
Integration Steps
Step 1: Apply for Free API KEY
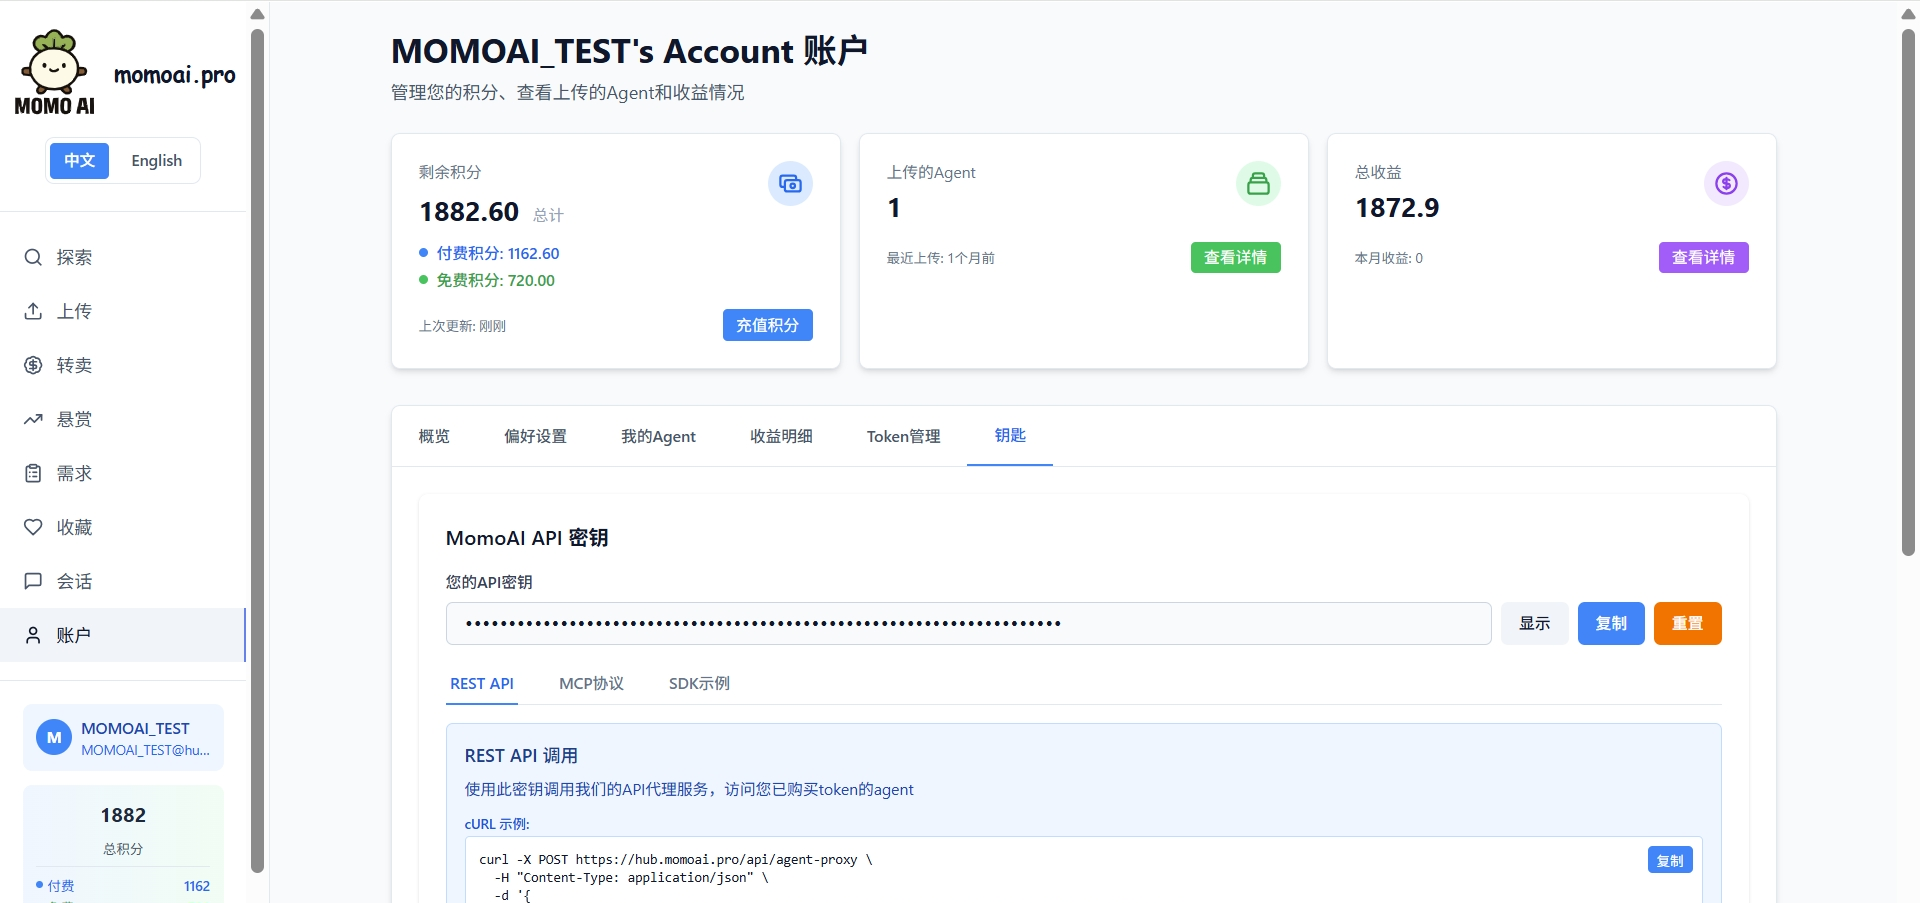
Register an account on MOMO AI. If you already have an account, please log in.
After logging in, select Account in the left navigation bar, then click Keys. The key displayed here is your identity credential on MOMO AI, which will be securely configured in the OpenCode local configuration file later.
Step 2: Configure API Address
Open the OpenCode configuration directory (path varies by system):
- macOS / Linux:
~/.config/opencode/ - Windows:
%USERPROFILE%\.config\opencode
In this directory, create or edit the configuration file: opencode.json, with the following content:
{
"$schema": "https://opencode.ai/config.json",
"provider": {
"myprovider": {
"npm": "@ai-sdk/openai-compatible",
"name": "momoai",
"options": {
"baseURL": "https://hub.momoai.pro/v1",
"apiKey": "{env:$MOMOAI_KEY}", // Replace $MOMOAI_KEY with your MOMO AI key obtained in Step 1
"headers": {
"Authorization": "Bearer $MOMOAI_KEY" // Replace $MOMOAI_KEY with your MOMO AI key obtained in Step 1
}
},
"models": {
// MOMO AI Agent 58
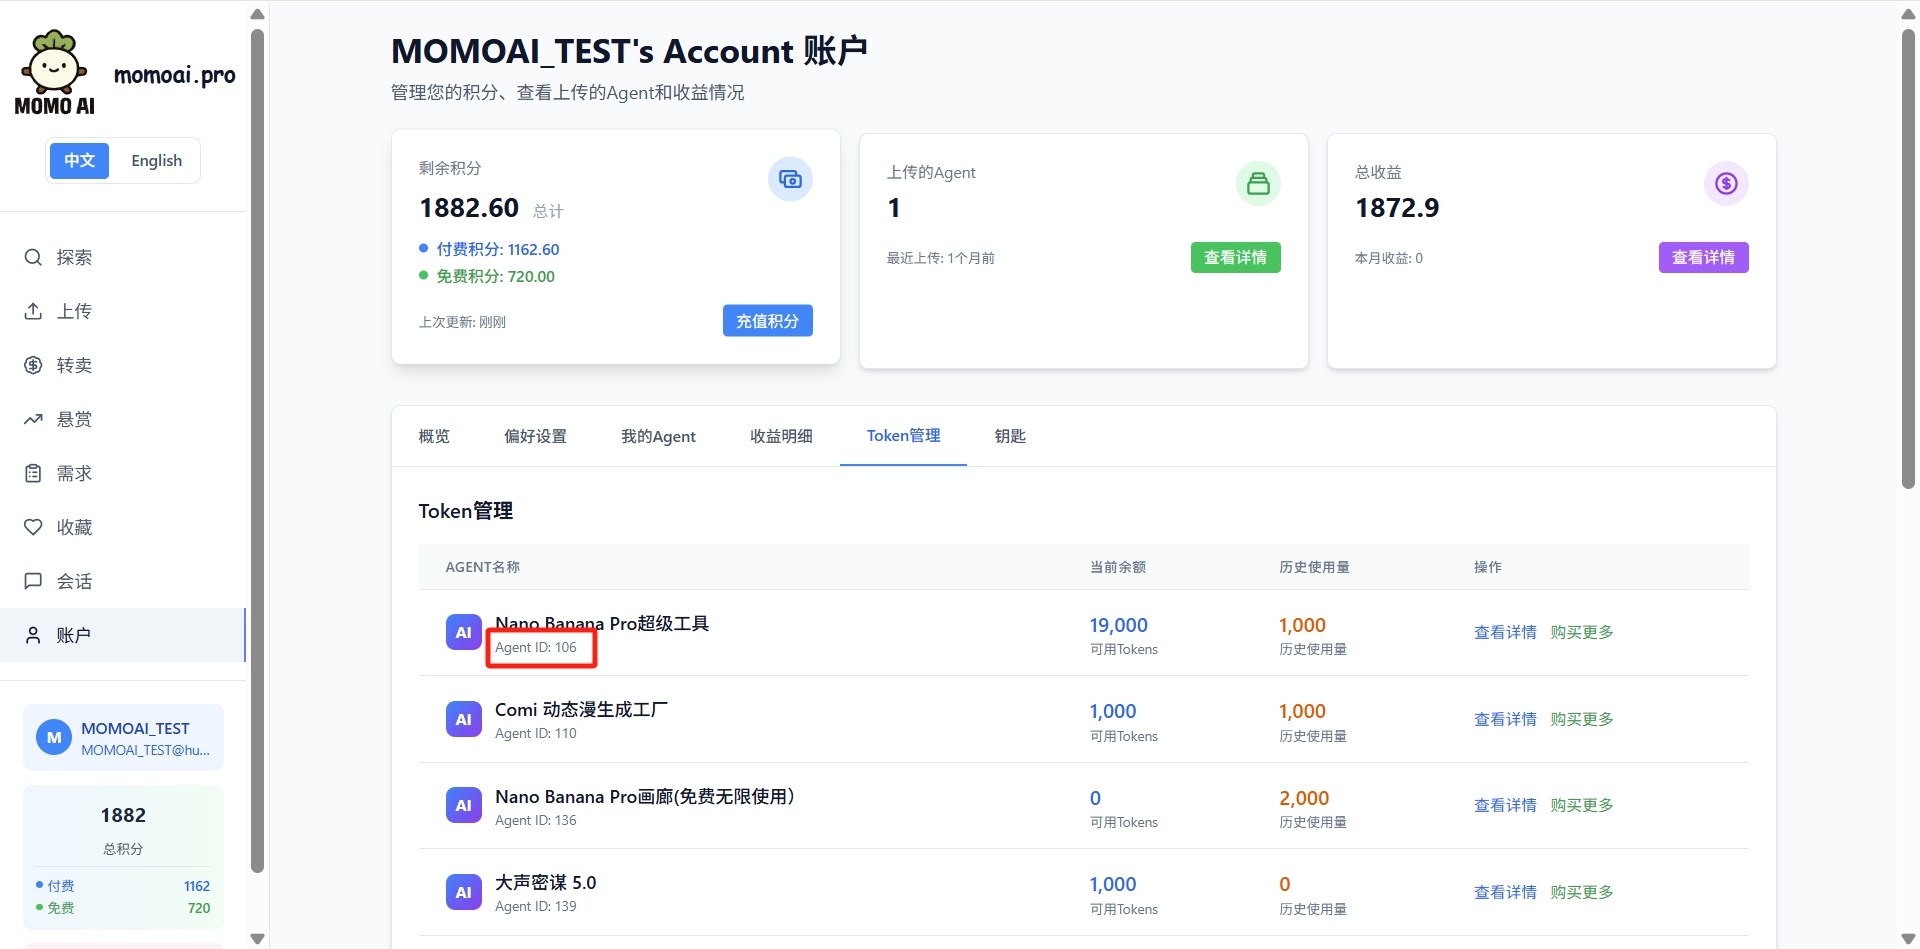
"momo_58": { // MOMO AI agent ID. Must be filled exactly as shown. Agent ID can be found in Account-Token Management-Agent Name column.
"name": "deepseek-chat", // Any model name that's easy for you to remember
"limit": {
"context": 200000,
"output": 1000 // Maximum reply length for the model
},
},
// MOMO AI Agent 162. Add more agents following the format above.
"momo_162": {
"name": "claude-sonnet-4-5-20250929", // MOMO AI has OpenAI format compatibility for all agents, you can directly add agents with different request format types
"limit": {
"context": 200000,
"output": 1000
},
},
// New MOMO AI Agent
}
}
}
}
Agent ID Location (as shown in the red box in the image)
Step 3: Start and Verify
After saving the configuration, start OpenCode:
opencode
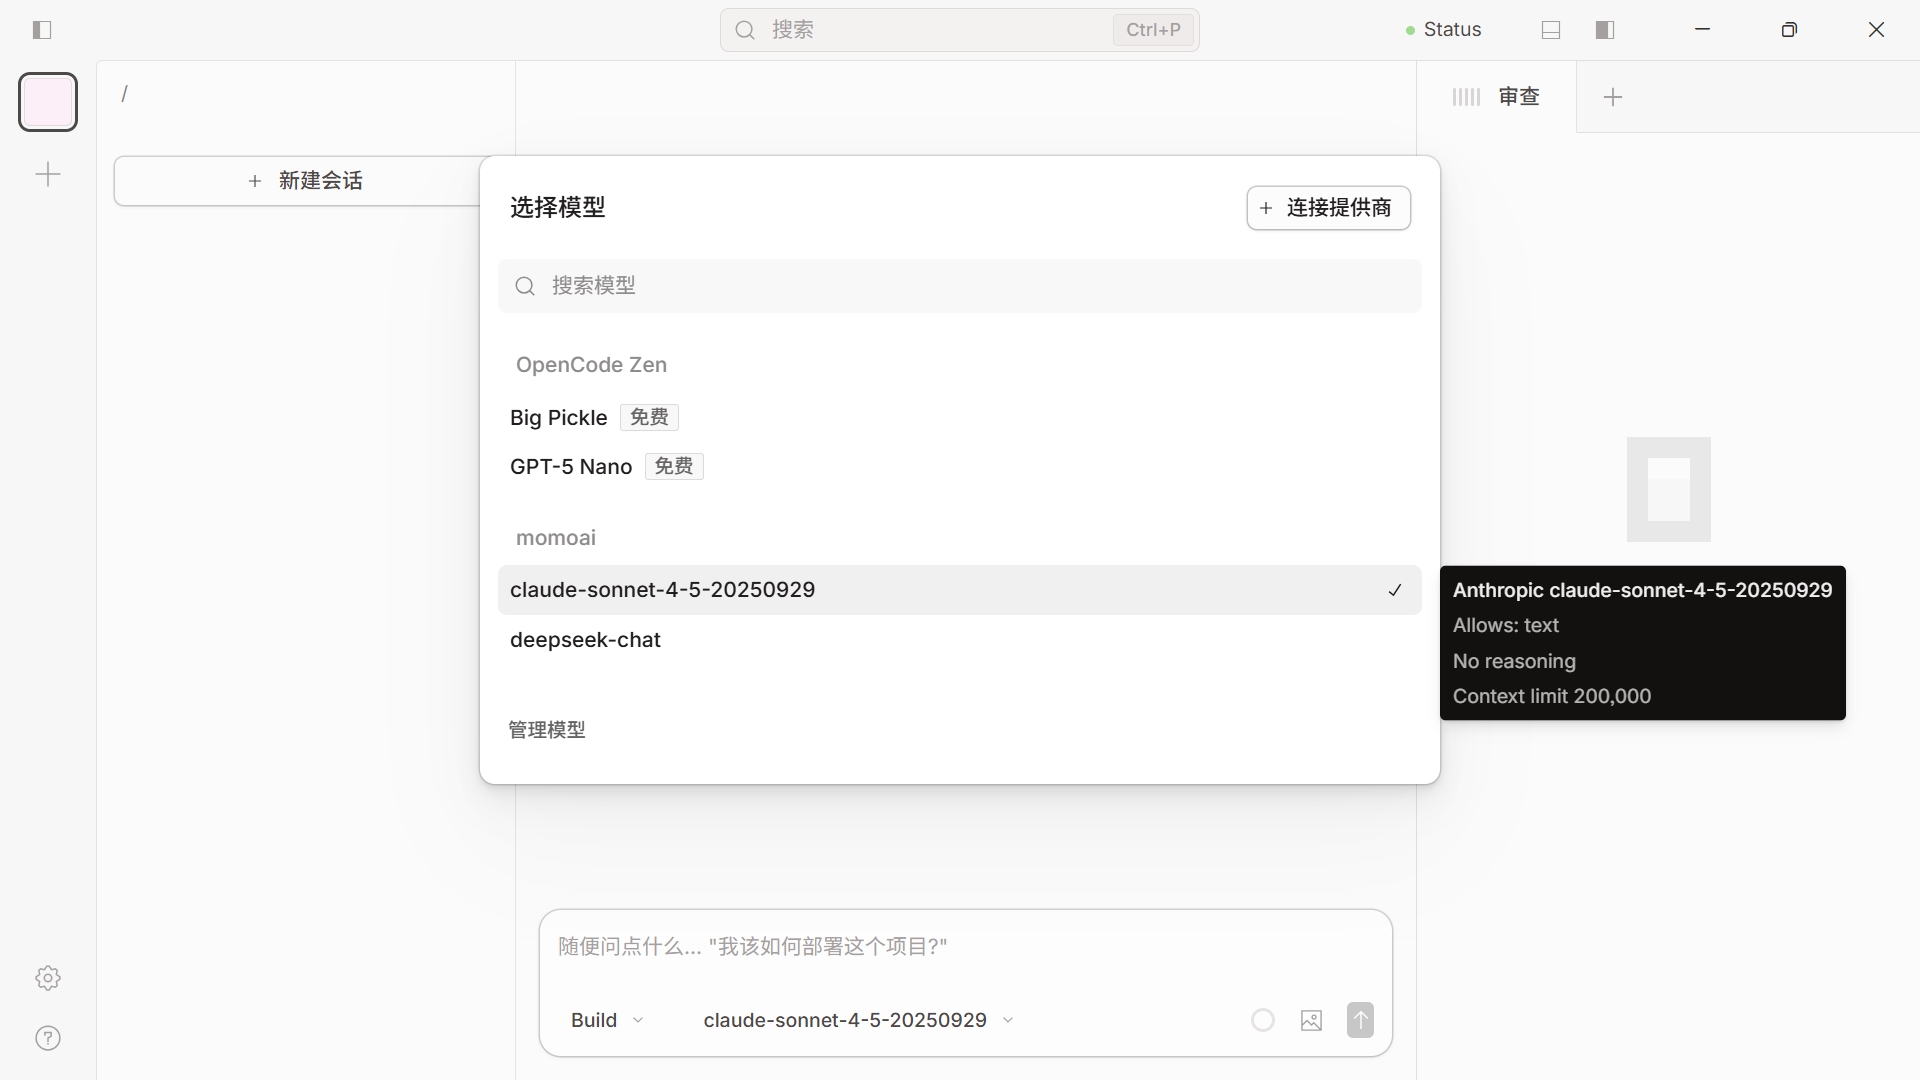
In the chat interface, enter the command:
/model
You should see the MOMO AI agents you just configured in the model list (e.g., claude-sonnet-4-5-20250929 momoai). Select it to use normally!
Notes
-
Model ID must match: The content under
provider-myprovider-modelsthat looks likemomo_[agent_id], the[agent_id]can be found in Account-Token Management-Agent Name column, and must be filled exactly as shown in the example. -
If modifications to the configuration don't take effect, try fully exiting OpenCode and restarting.
Contact MOMO AI Official
- Email: partnership@momoai.wecom.work
- Business: 13716105018
- Technical Support: 13815831618